NCT Preparation and Roadworthiness Checklist
Complete guide to preparing your vehicle for NCT testing. Learn what inspectors check and how to address common issues before your test date.

Why NCT Preparation Matters
The National Car Test (NCT) isn't just a box to tick. It's your vehicle's health check. Getting it right means staying safe on the road, avoiding hefty repair bills after failing, and keeping your insurance valid. Most people don't realize that failing an NCT test can be expensive — not just the retest fee, but the cost of rushing repairs without proper planning.
We're here to walk you through exactly what inspectors look for. You'll learn the common failure points, how to spot them yourself before the test, and simple steps to address them. This isn't complicated — it's just systematic preparation.

Lighting and Visibility Systems
Lighting failures are the most common NCT failures in Ireland. Inspectors check every light on your vehicle — headlights, tail lights, brake lights, indicators, and fog lights. You need to test them all.
Start by checking all bulbs at night. Get someone to stand behind your car while you test the brake lights. Are they bright and working? Check the indicators — they should flash at roughly one flash per second. Headlights need to be aligned properly, not dazzling oncoming traffic. If a bulb's blown, replace it immediately. These fixes cost a few euros but failing the test costs far more.
Don't forget about condensation inside headlight or tail light units. If you see moisture inside, the seal's compromised and it'll fail inspection. You'll need to replace the entire unit.

Tyres and Brake Systems
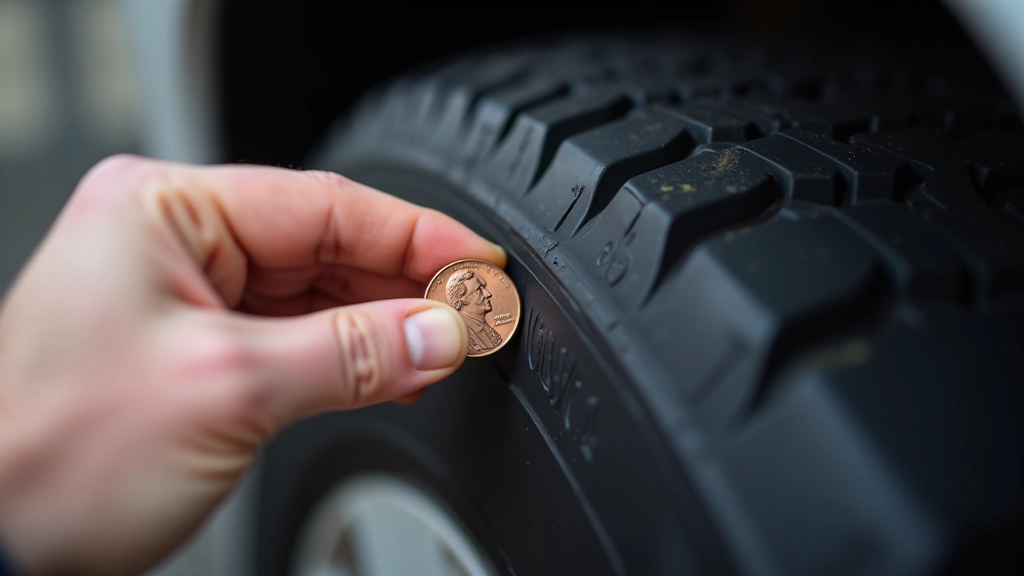
Your tyres must have at least 1.6mm of tread depth — that's the legal minimum. But honestly, you want more than that for safety. Get a simple tread depth gauge from any petrol station or automotive shop for about €5. Check all four tyres in multiple spots, not just the middle.
Look for uneven wear patterns too. If the inside or outside edges are more worn than the middle, your wheel alignment might be off. This won't necessarily fail you, but it's worth addressing. You'll also want to check for cuts, bulges, or damage. Even small damage can cause failure.
Brake pads are checked visually. If they're worn down to about 2-3mm of material remaining, you're borderline. Replace them before the test — it's straightforward and costs between €80-150 depending on your vehicle.
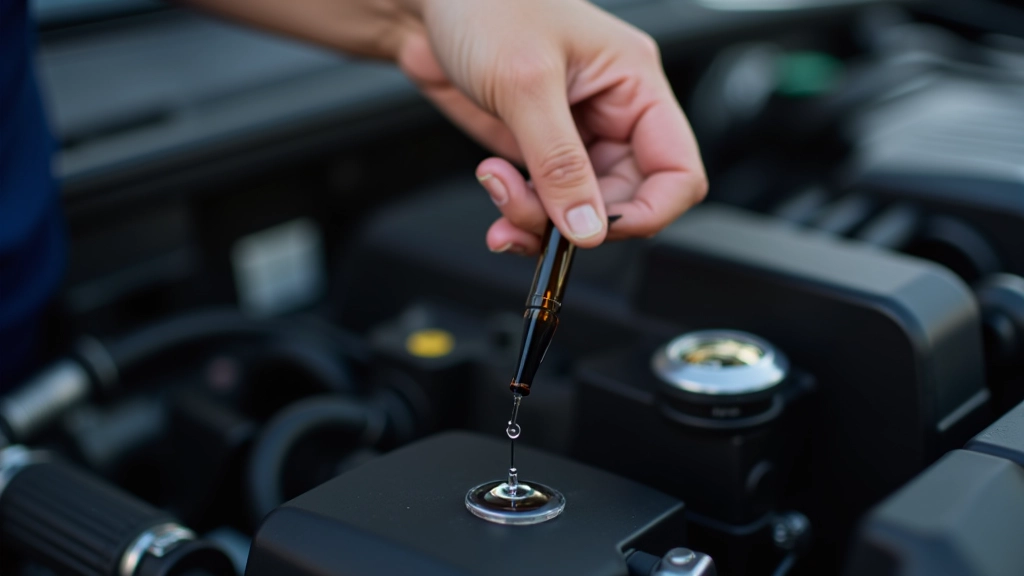
Emissions and Engine Condition
The emissions test checks your exhaust system for excessive pollution. If you've got a check engine light on your dashboard, you're almost certainly going to fail. Get it scanned before the test — many garages do this for free or €10-20.
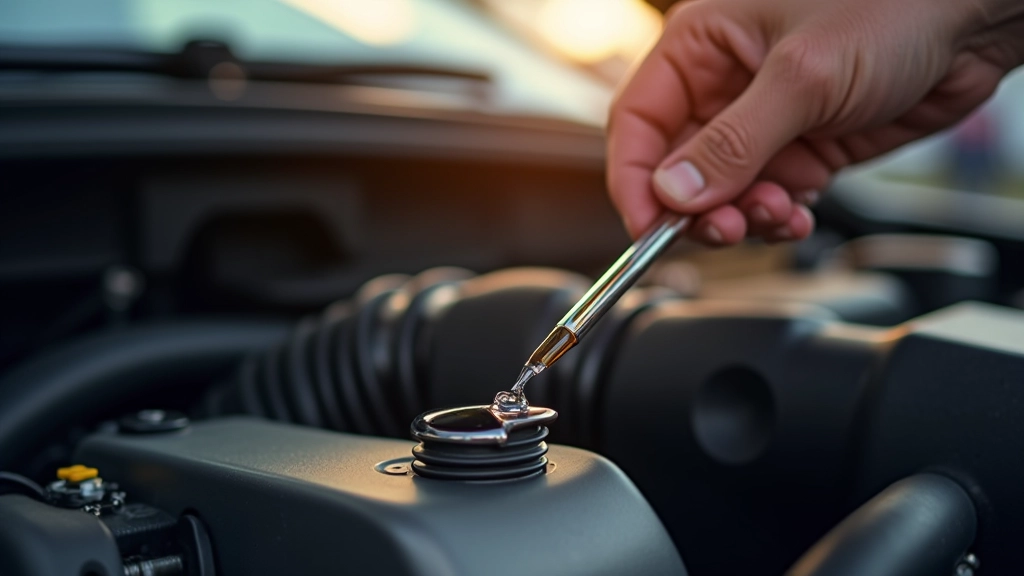
Your engine oil level needs to be between the minimum and maximum marks. Check it with the dipstick when the engine's cold, on flat ground. Low oil can trigger warning lights and will definitely cause problems. While you're at it, check your coolant level too — it should be between the min and max markers on the reservoir.
Don't overlook the exhaust system itself. If there's rust damage, holes, or it's hanging loose, that's a failure. Walk around your car and look underneath. A dangling exhaust is dangerous and won't pass inspection.

Windscreen, Wipers, and Washers
Your windscreen can't have cracks or chips in the driver's line of sight. A small chip that you think is fine will fail inspection. If you've got damage, get it fixed before the test. Windscreen repair shops can often fix small chips for €30-50, which is cheaper than failing.
Wipers need to work properly and clear the windscreen effectively. If they're leaving streaks or not moving smoothly, replace them. They're cheap — usually €15-30 per pair — and you can often fit them yourself in about five minutes. Your windscreen washer fluid needs to work too. Fill it up and test it before the appointment.
Don't forget the rear window. If you've got a rear wiper, it needs to work. And if your rear window's demisted, make sure that's functional as well.
Quick Checklist: 48 Hours Before Your Test
- Test all lights in darkness — headlights, brake lights, indicators, reversing lights
- Check tyre tread depth on all four wheels (minimum 1.6mm, ideally more)
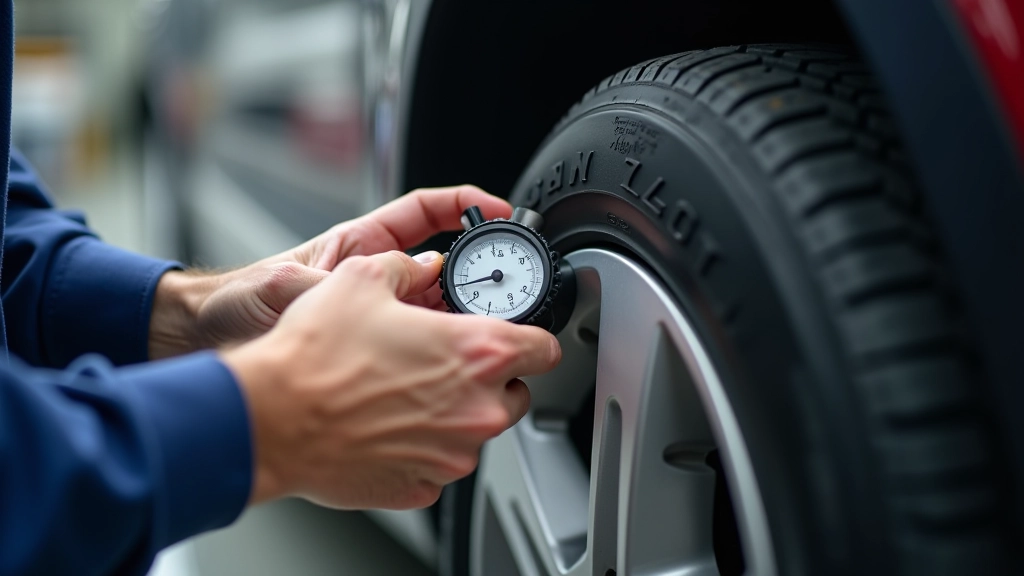
- Check for tyre damage, cuts, or bulges
- Verify engine oil and coolant levels
- Inspect windscreen for cracks or chips in driver's view
- Test wipers and washer fluid
- Check brake pads thickness (at least 3mm)
- Look underneath for loose or damaged exhaust
- Ensure seatbelts work smoothly and lock properly
- Check horn works
Safety Features and Interior Details
Seatbelts get tested. They need to retract smoothly, lock when you jerk them, and be free from fraying or damage. Test all of them — front and back. If any seatbelt's stuck or won't retract, get it fixed before the test.
Your horn needs to work. Seriously. It's a safety feature and inspectors test it. If yours is weak or doesn't work, it's an easy fix. Your mirrors — all of them — need to be intact with no cracks. If a mirror's damaged, replace it.
Look at your fuel cap and make sure it seals properly. Check that your number plates are clean and readable, not cracked or faded. Rust around the body is checked too. Significant corrosion can cause failures, especially around structural areas like sills or chassis points.
Finally, make sure your vehicle is clean. It's not about making it look pretty — dirt can hide damage that inspectors need to see. Give it a wash, clean the windows inside and out, and make sure the interior's reasonably tidy.

Important Notice
This guide provides educational information about NCT inspection requirements and common preparation steps. NCT standards and requirements are set by the Department of Transport and may be updated. This article isn't a substitute for the official NCT guidelines or professional vehicle inspection. If you're uncertain about any aspect of your vehicle's condition, consult a qualified mechanic or visit an official NCT testing centre for professional assessment. Vehicle safety is your responsibility as the owner and driver.
Passing Your NCT: It's About Planning
You don't need to be a mechanic to prepare for your NCT. You just need a systematic approach. Start about two weeks before your test date. Go through the checklist section by section. Test everything. If you find an issue, fix it or get it fixed. Most repairs are straightforward and affordable when done on your schedule, not in a panic before a retest.
The truth is, vehicles that pass NCT tests first time have owners who take maintenance seriously. You're doing that by reading this guide. You're thinking ahead. That mindset — maintaining your vehicle properly — is what keeps you safe on the road and saves money in the long run.
Walk into that test centre confident. You've checked everything. Your vehicle's ready. And that's the feeling you want when the inspector starts their assessment.